Features · Lesson 8
SOLIDWORKS Shell
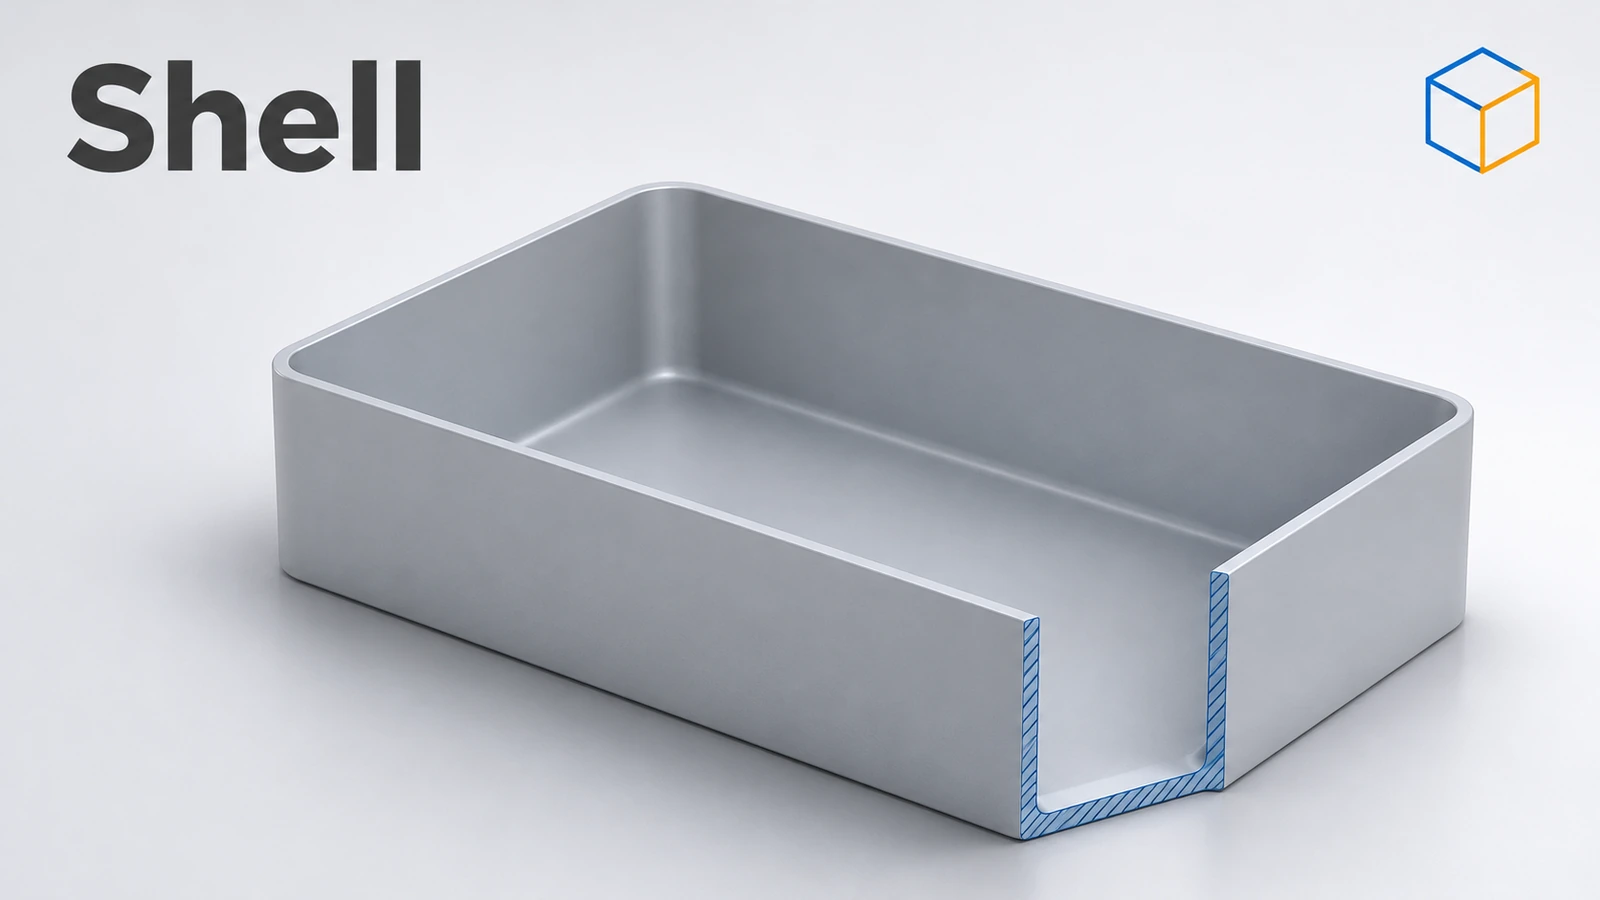
Shell hollows out a solid and leaves walls of a set thickness. Pick the faces to remove — usually the open top of a box or housing — and type the thickness; SOLIDWORKS offsets every other face inward. It is the quickest way to model enclosures, cups and covers. Faces can have their own thickness, and the walls can grow outward instead of inward.
 Kevin Walsh
Where to find it
Features tab → Shell (Insert → Features → Shell)
Shell options
| Option | What it does |
|---|---|
| Thickness | Wall thickness |
| Faces to Remove | Faces that become openings |
| Shell outward | Walls grow outward instead of inward |
| Multi-thickness | Separate thickness for selected faces |
| Show preview | Preview of the result |
| Solid Body | Which body to shell in a multibody part |
When a shell does fail, the faces that cause it are shown in a different colour. Plastic enclosures usually also need draft and ribs on their thin walls. Thin walls from surfaces are made with Thicken. Whether a shelled plastic part will mould well can be checked in SOLIDWORKS Plastics.
Practise it: the shelled cup and open box exercises.
Practise it: the phone case, the 3D-printed enclosure and the bottle.
When it fails: shell errors explains the minimum radius of curvature check and other fixes.
Step by step
-
1
Build the box
Extrude a 100 × 60 mm Center Rectangle on the Top Plane 40 mm up.
-
2
Start Shell
Features → Shell. Set the thickness to 2 mm.
-
3
Remove the top face
Click the top face so it appears in Faces to Remove. The preview shows an open box.
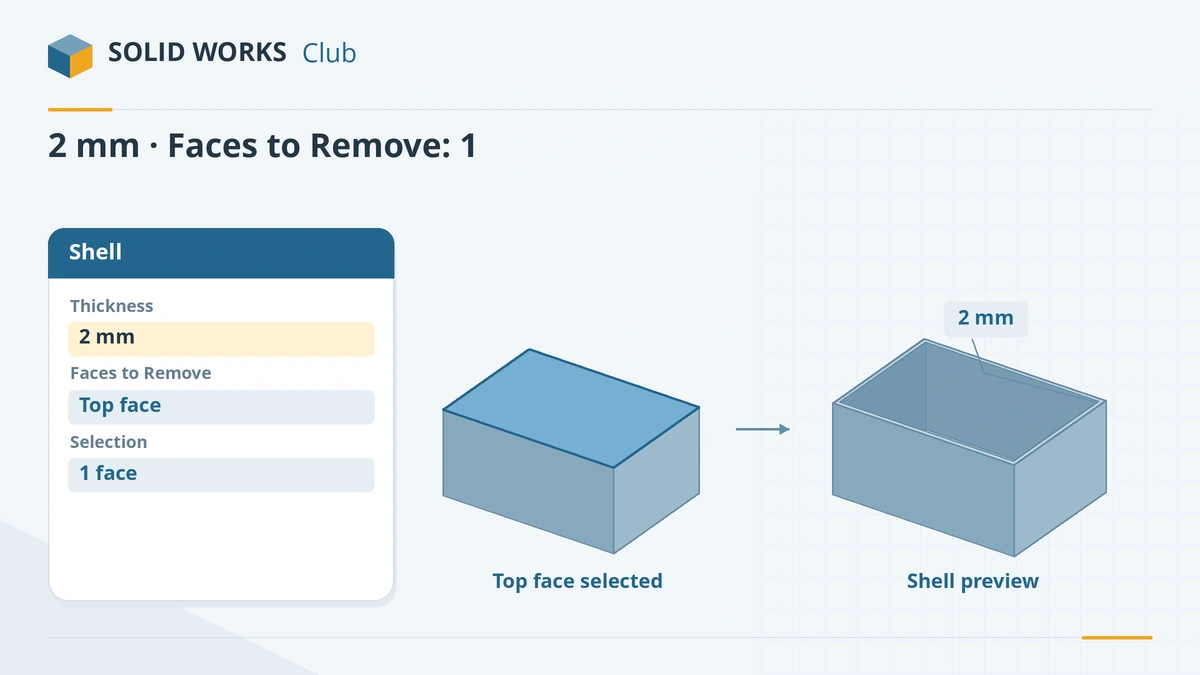
Remove the top face and set a 2 mm wall. -
4
Confirm
Click the tick. Check the inside with a section view (heads-up toolbar → Section View) if you shelled without removing any face.
Common mistakes
- A thickness larger than the smallest inside radius of the part. SOLIDWORKS warns that the thickness exceeds the minimum radius of curvature; check the inside or reduce the thickness.
- Shelling a part with very thin areas, which creates zero-thickness geometry and fails.
- Merging extra bodies before shelling, which can leave unwanted ledges inside — shell first, then add bosses.
Lesson 8 of 18 in the features course.
Practice
Shell a 100 × 60 × 40 mm box with 2 mm walls, removing the top face. Check: volume 35,712 mm³ (outer box minus a 96 × 56 × 38 mm cavity).
Sources
- SOLIDWORKS Help 2024 — Shell PropertyManager
- Javelin — Multi-thickness shell (Nov 2023)
- SOLIDWORKS Tech Blog — Surface and advanced modeling skills (2020)
- Hawk Ridge — Features basics in SOLIDWORKS
- Javelin — How feature ordering affects your design (Jun 2026)
Checked November 2026. SOLID WORKS Club is independent; menu names can differ slightly between releases.
Frequently asked questions
How do I make a hollow part in SOLIDWORKS?
+
Use Shell. Pick the face or faces to remove and set the wall thickness. With no face removed, the part becomes a closed hollow solid.
Can different walls have different thicknesses?
+
Yes. Add faces to the Multi-thickness section of the Shell PropertyManager and give each its own thickness.
Why does my shell fail?
+
Usually because the thickness is larger than a curve or fillet radius inside the part, or because thin areas would collapse to zero thickness. Reduce the thickness or simplify those areas.
What does Shell outward do?
+
It adds the wall thickness outside the existing faces instead of inside, so the original shape becomes the inside of the part.
Related
- SOLIDWORKS RibHow to use the Rib feature in SOLIDWORKS: one open sketch line, thickness, parallel or normal direction, draft, and rib design rules for plastic parts.
- SOLIDWORKS FilletHow to use Fillet in SOLIDWORKS: constant, variable, face and full round fillets, profiles, tangent propagation, FilletXpert and why fillets fail.
- SOLIDWORKS DraftHow to add draft in SOLIDWORKS: Neutral Plane, Parting Line and Step draft, DraftXpert, draft in extrudes, Draft Analysis colours and typical angles.
- SOLIDWORKS rebuild errors and warnings — how to fix themFix SOLIDWORKS rebuild errors: red and yellow feature icons, the What's Wrong dialog, dangling references, zero-thickness geometry and failed fillets.