Features · Lesson 9
SOLIDWORKS Rib
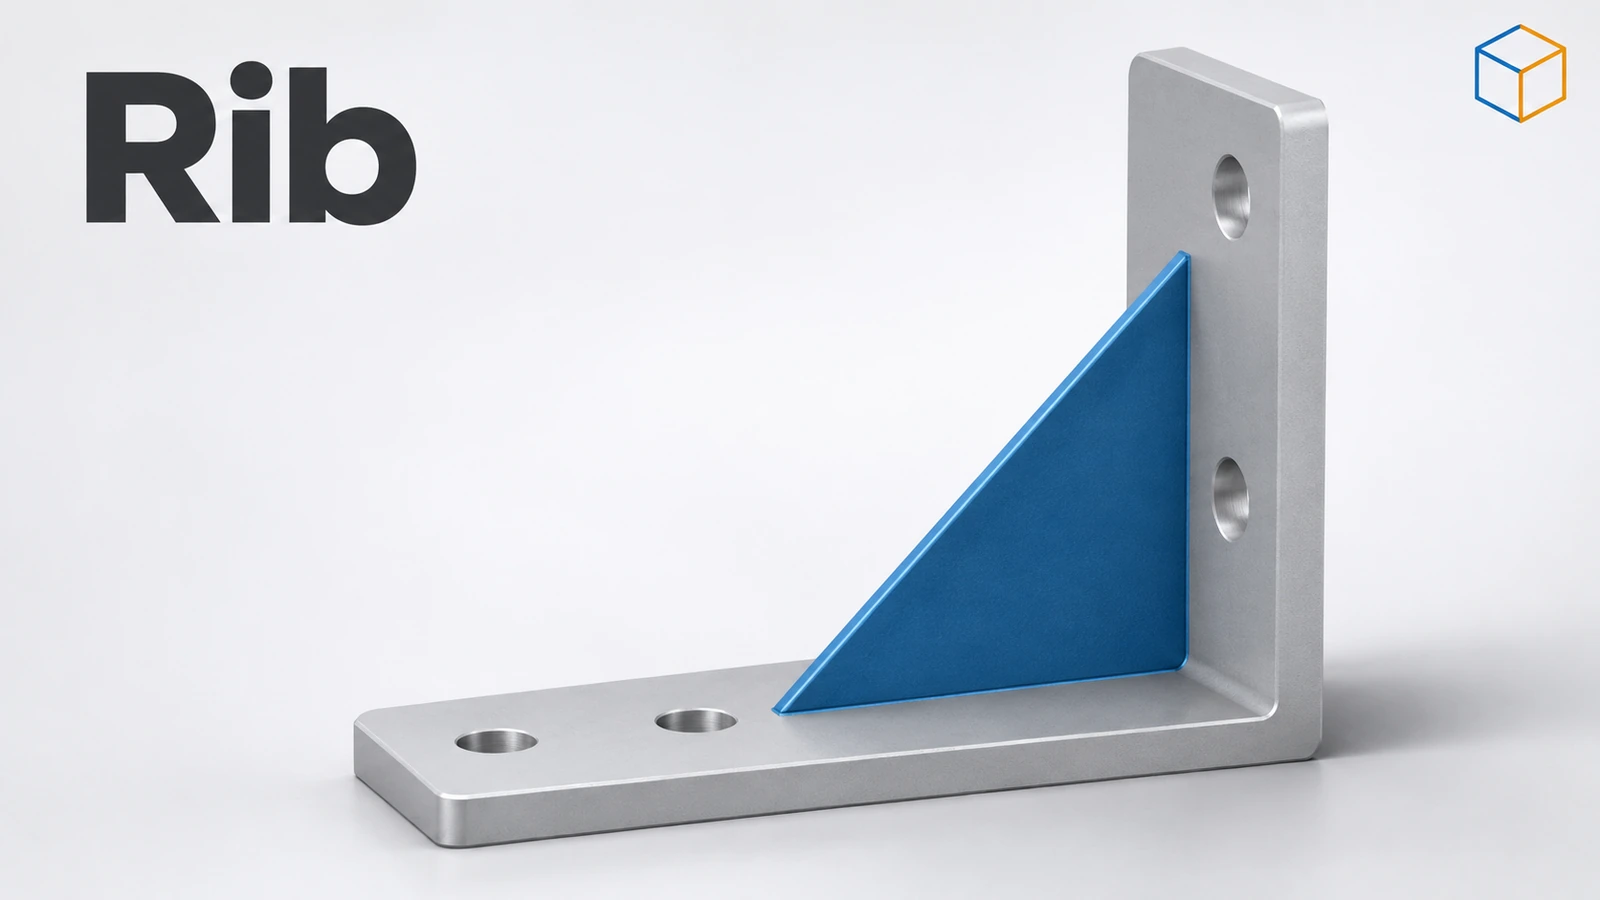
Rib turns a single open sketch line into a stiffening wall that grows until it meets the part. You do not need to draw the rib's outline — the line and a thickness are enough, and the rib extends automatically to the next faces. It is the standard way to add gussets to brackets and support ribs inside plastic housings.
 Kevin Walsh
Where to find it
Features tab → Rib
Rib options
| Option | What it does |
|---|---|
| Thickness | To one side of the line or centred on it |
| Extrusion direction | Parallel to the sketch (gusset) or normal to it (rib grid in a housing) |
| Flip material side | Chooses the direction the rib grows |
| Draft | Tapers the rib for moulding, optionally outward |
Rib design rules for moulded parts
| Rule | Typical value |
|---|---|
| Rib base thickness | 50–70% of the wall |
| Rib height | Up to 2.5–3 × the wall |
| Base radius | 0.25–0.4 × the wall |
| Spacing | At least 2–3 × the wall |
| Draft | 0.5–1.5° |
From SOLIDWORKS' rules for injection-moulded plastic parts. For draft on walls, see Draft.
Practise it: the ribbed bracket exercise.
Step by step
-
1
Build an L-bracket
On the Front Plane sketch an L profile: a base 80 mm long and 10 mm thick, and a wall 10 mm thick and 60 mm tall, outer corner on the origin. Extrude it Mid Plane 40 mm so the Front Plane runs through the middle.
-
2
Sketch the rib line
On the Front Plane draw one line from the wall's inner face, 50 mm above the bottom (40 mm above the base top), down to the base's top face, 60 mm from the outer edge (50 mm from the wall). The line can end in the air — the rib extends to the faces.
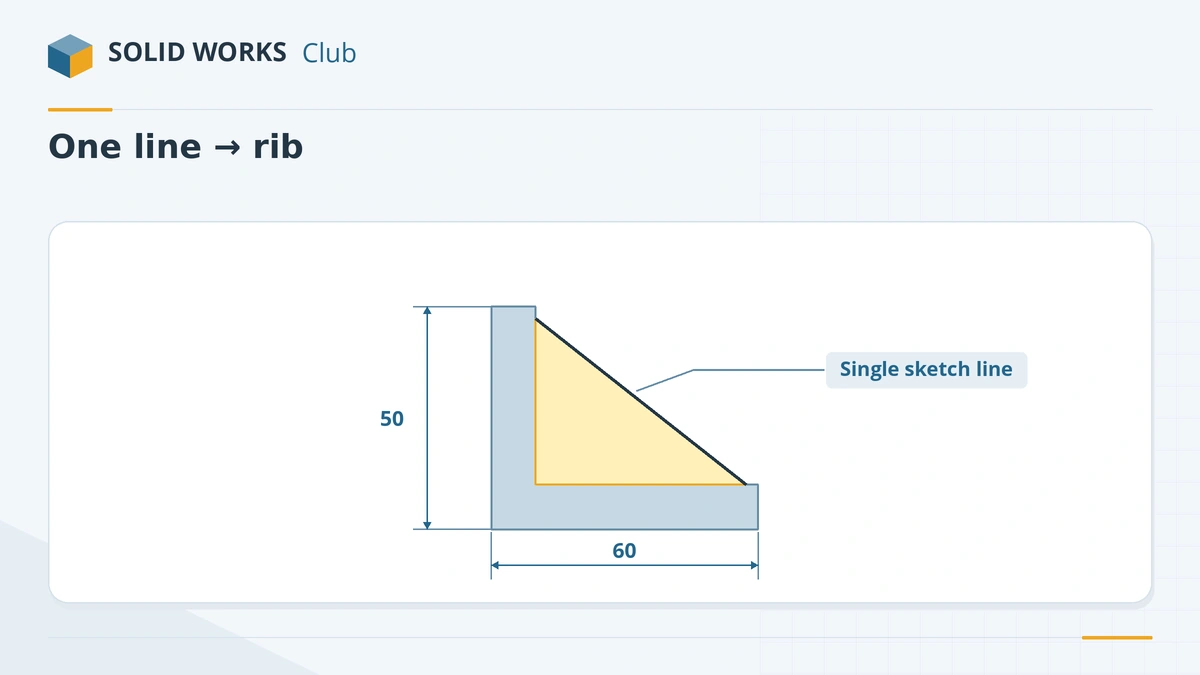
One line is enough — the rib grows to the wall and the base. -
3
Create the rib
Features → Rib. Thickness 6 mm, centred on the line (both sides), extrusion direction parallel to the sketch. Check the arrow points towards the material, then click the tick.
Common mistakes
- Arrow pointing away from the material — the rib has nothing to grow to and fails. Flip the direction.
- Rib that would not touch faces everywhere along its edge; the rib uses Up To Next and fails if it cannot reach.
- Ribs as thick as the walls in moulded parts. They cause sink marks — keep them thinner than the wall.
Lesson 9 of 18 in the features course.
Practice
Build the 40 mm wide L-bracket (volume 52,000 mm³) and add the 6 mm rib from the line above. Check: total volume 58,000 mm³ — the rib adds a 40 × 50 mm triangle, 6 mm thick.
Sources
- Javelin — How to use the Rib command (Sep 2026)
- Javelin — Rib feature provides unique options (May 2023)
- SOLIDWORKS Help 2024 — Modify parameters: ribs
- SOLIDWORKS blog — Cardinal rules of designing injection molded parts
- Hawk Ridge — Draft features you need to know (Aug 2022)
Checked November 2026. SOLID WORKS Club is independent; menu names can differ slightly between releases.
Frequently asked questions
Does a rib sketch need to be closed?
+
No. A rib uses an open contour, often a single line. The rib extends from it until it meets the part.
How thick should a rib be in a plastic part?
+
SOLIDWORKS' moulding guidance gives a rib base of 50–70% of the wall thickness, a height of up to 2.5–3 times the wall, and 0.5–1.5° of draft.
Can a rib have draft?
+
Yes. Turn on draft in the Rib PropertyManager and set the angle; choose whether it drafts outward.
What end condition does a rib use?
+
Only one: it extends up to the next faces of the part.
Related
- SOLIDWORKS ShellHow to use Shell in SOLIDWORKS to hollow a part: faces to remove, wall thickness, shell outward, multi-thickness walls, and what to do when the shell fails.
- SOLIDWORKS DraftHow to add draft in SOLIDWORKS: Neutral Plane, Parting Line and Step draft, DraftXpert, draft in extrudes, Draft Analysis colours and typical angles.
- SOLIDWORKS Extruded Boss/BaseHow to use Extruded Boss/Base in SOLIDWORKS: every end condition from Blind to Mid Plane, Direction 2, draft, thin features, Selected Contours and Merge result.
- SOLIDWORKS Line toolHow to draw lines in SOLIDWORKS: the Line, Centerline and Midpoint Line tools, chain drawing, switching to a tangent arc, orientation options and L.