Project 4
How to model a bottle with a thread in SOLIDWORKS
A bottle combines three techniques: a revolve for the body, a shell for the wall and a thread on the neck. Since SOLIDWORKS 2016 the Thread feature can add the neck thread directly, and Bottle is one of its built-in profile types. The manual alternative — a helix and a sweep — still teaches the most and works in every version.
 Kevin Walsh
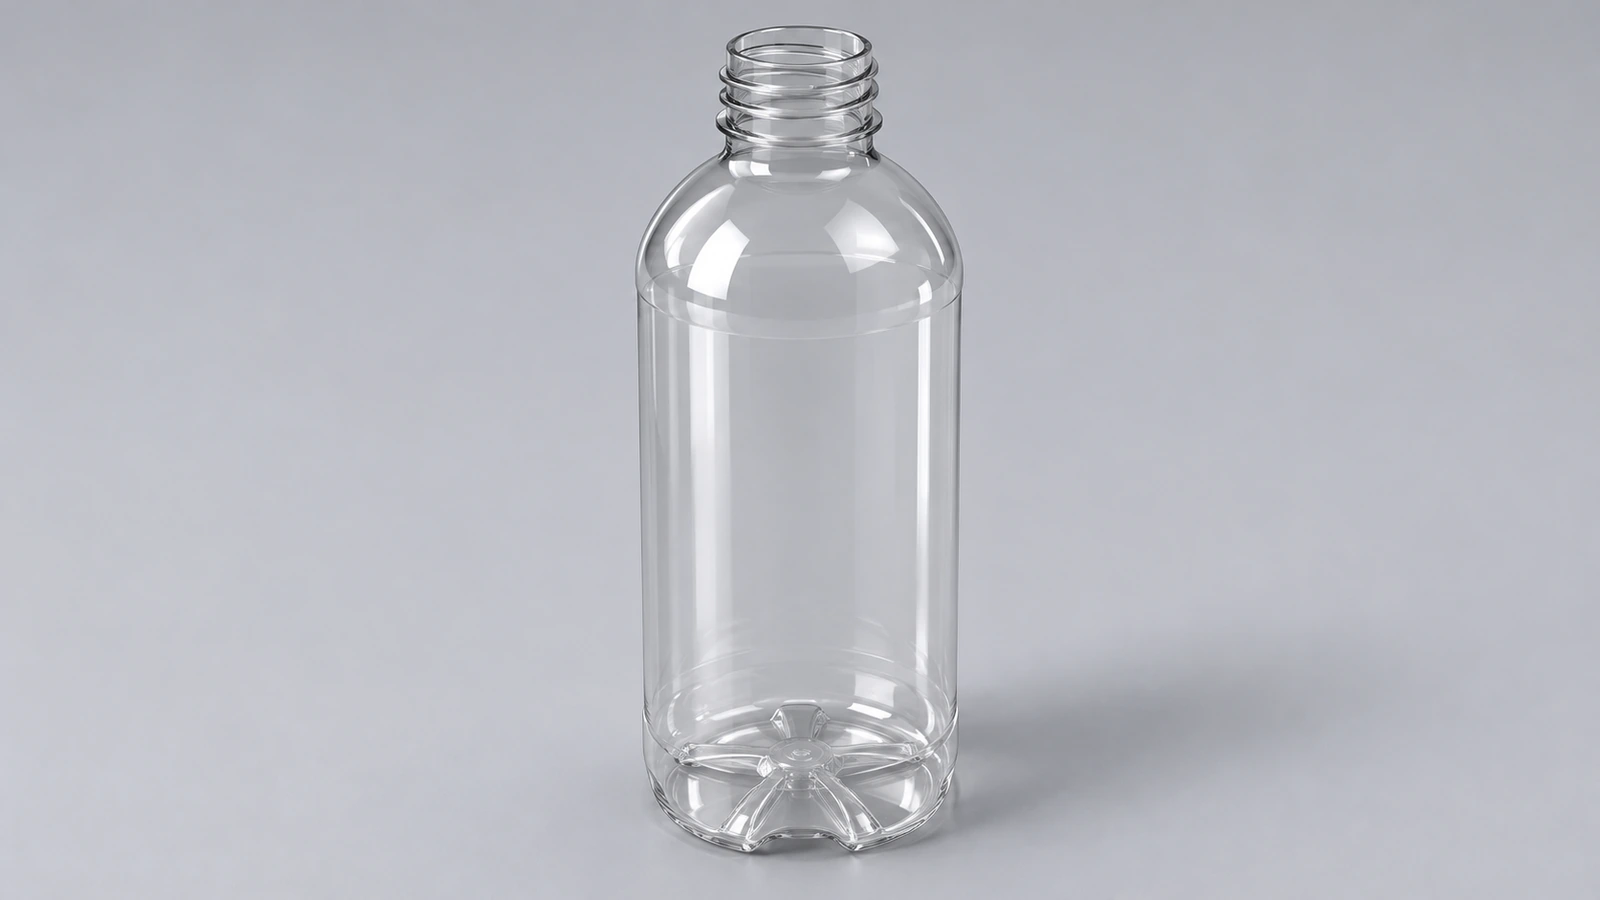
- Level
- Project
- Time
- 40 min
- Material
- Plastic (any)
Specification
| Parameter | Value |
|---|---|
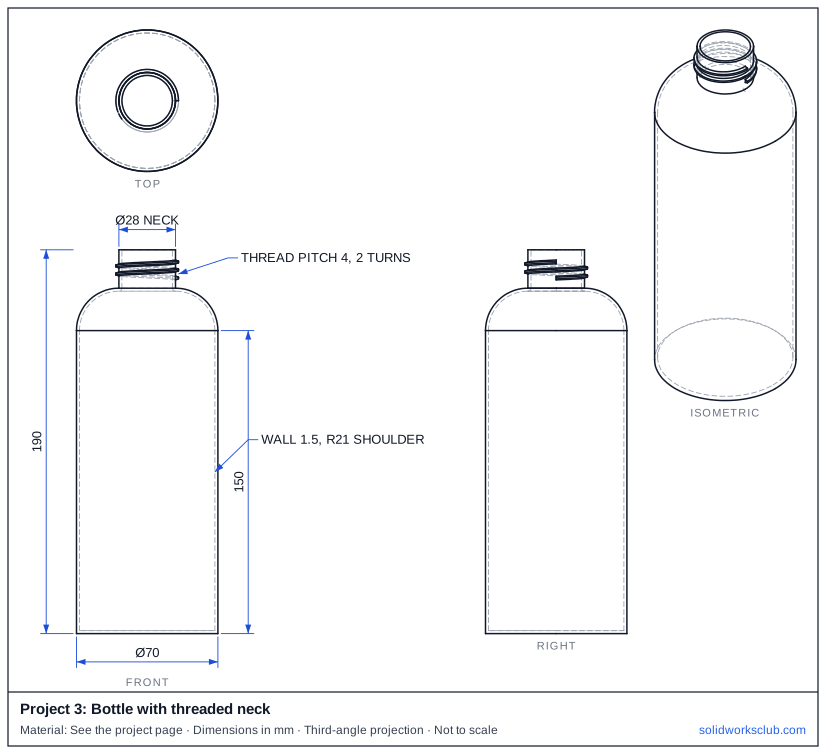
| Body diameter / height | Ø70 / 150 mm |
| Shoulder | R21 arc to the neck |
| Neck diameter / height | Ø28 / 19 mm |
| Wall thickness | 1.5 mm (shell, open top) |
| Thread | Pitch 4 mm, 2 turns, starting 5 mm below the rim |
The drawing
Step by step
1. Revolve the body
Front plane: centreline, half profile up to the shoulder, an R21 arc to the neck, neck to 190 mm. Revolve 360°.
2. Shell
Shell 1.5 mm and remove the top face of the neck.
3. Thread with the Thread feature
Insert → Features → Thread, pick the neck's top edge as the start, add an offset, choose the Bottle type, set pitch and turns, and make it an extruded (not cut) thread.
4. Or sweep along a helix
Helix on the neck circle: pitch 4, 2 turns. Sweep a small trapezoid profile along it without merging, cap or trim both thread ends, then combine the bodies.
5. Finish
Fillet the thread ends and the base edge. For drawings, consider a simplified configuration without the thread — physical threads are the slowest features to rebuild.
Check your result
- Overall height 190 mm, body Ø70, neck Ø28.
- Our STEP model (body plus swept thread) has a volume of 64,660.09 mm³.
Compare your model with the STEP file above — it opens in SOLIDWORKS and most other CAD programs.
Next: project 5 — m10 bolt and nut.
Download files
Commands used
Show solution
- Revolve the body. Front plane: centreline, half profile up to the shoulder, an R21 arc to the neck, neck to 190 mm. Revolve 360°.
- Shell. Shell 1.5 mm and remove the top face of the neck.
- Thread with the Thread feature. Insert → Features → Thread, pick the neck's top edge as the start, add an offset, choose the Bottle type, set pitch and turns, and make it an extruded (not cut) thread.
- Or sweep along a helix. Helix on the neck circle: pitch 4, 2 turns. Sweep a small trapezoid profile along it without merging, cap or trim both thread ends, then combine the bodies.
- Finish. Fillet the thread ends and the base edge. For drawings, consider a simplified configuration without the thread — physical threads are the slowest features to rebuild.
Sources
- Hawk Ridge — What's new 2016: Thread tool (Feb 2016)
- CATI — SOLIDWORKS 2016 what's new: custom thread (Sep 2015)
- engineering.com — How to use the Thread feature in SOLIDWORKS 2016
- CATI — Creating a new thread profile (Jul 2019)
- GrabCAD — Modeling bottle neck finish thread
- GoEngineer — Performance of cosmetic and physical threads (Jun 2017)
- GoEngineer — How to make threads: basic and custom (Aug 2018)
Checked November 2026. SOLID WORKS Club is independent; menu names can differ slightly between releases.
Frequently asked questions
Does SOLIDWORKS have a bottle thread profile?
+
Yes. The Thread feature ships with Die, Tap and Bottle profile types in several sizes; copy one to make a custom profile.
Why are threaded models slow?
+
Physical threads are heavy geometry. In one test the Thread feature took about 96% of a part's rebuild time; use cosmetic threads or a simplified configuration where you can.
Related
- How to model a bolt and nut in SOLIDWORKSModel an ISO 4017 M10 bolt and ISO 4032 nut in SOLIDWORKS: hexagon sizes from the standard, chamfers, cosmetic or physical threads, and Toolbox fasteners.
- How to model a compression spring in SOLIDWORKSModel a real compression spring in SOLIDWORKS: variable-pitch helix for closed ends, sweep, ground ends cut with a plane, and checks for free and solid length.
- SOLIDWORKS RevolveHow to use Revolved Boss/Base and Revolved Cut in SOLIDWORKS: sketch half a profile, choose the axis, set the angle and fix open-sketch errors.
- Intermediate SOLIDWORKS exercises19 intermediate SOLIDWORKS exercises: sweeps, lofts, shells, draft, Hole Wizard and three small assemblies, each with a drawing, STEP file and check mass.