Getting Started
The SOLIDWORKS interface explained
The SOLIDWORKS window has five main areas: the CommandManager with your tools across the top, the FeatureManager design tree on the left that records how the model was built, the graphics area in the middle, the Task Pane on the right with libraries and resources, and the status bar at the bottom. Most of the interface changes with what you are doing — tabs, panels and toolbars switch automatically when you sketch, build a feature or select something.
 Kevin Walsh
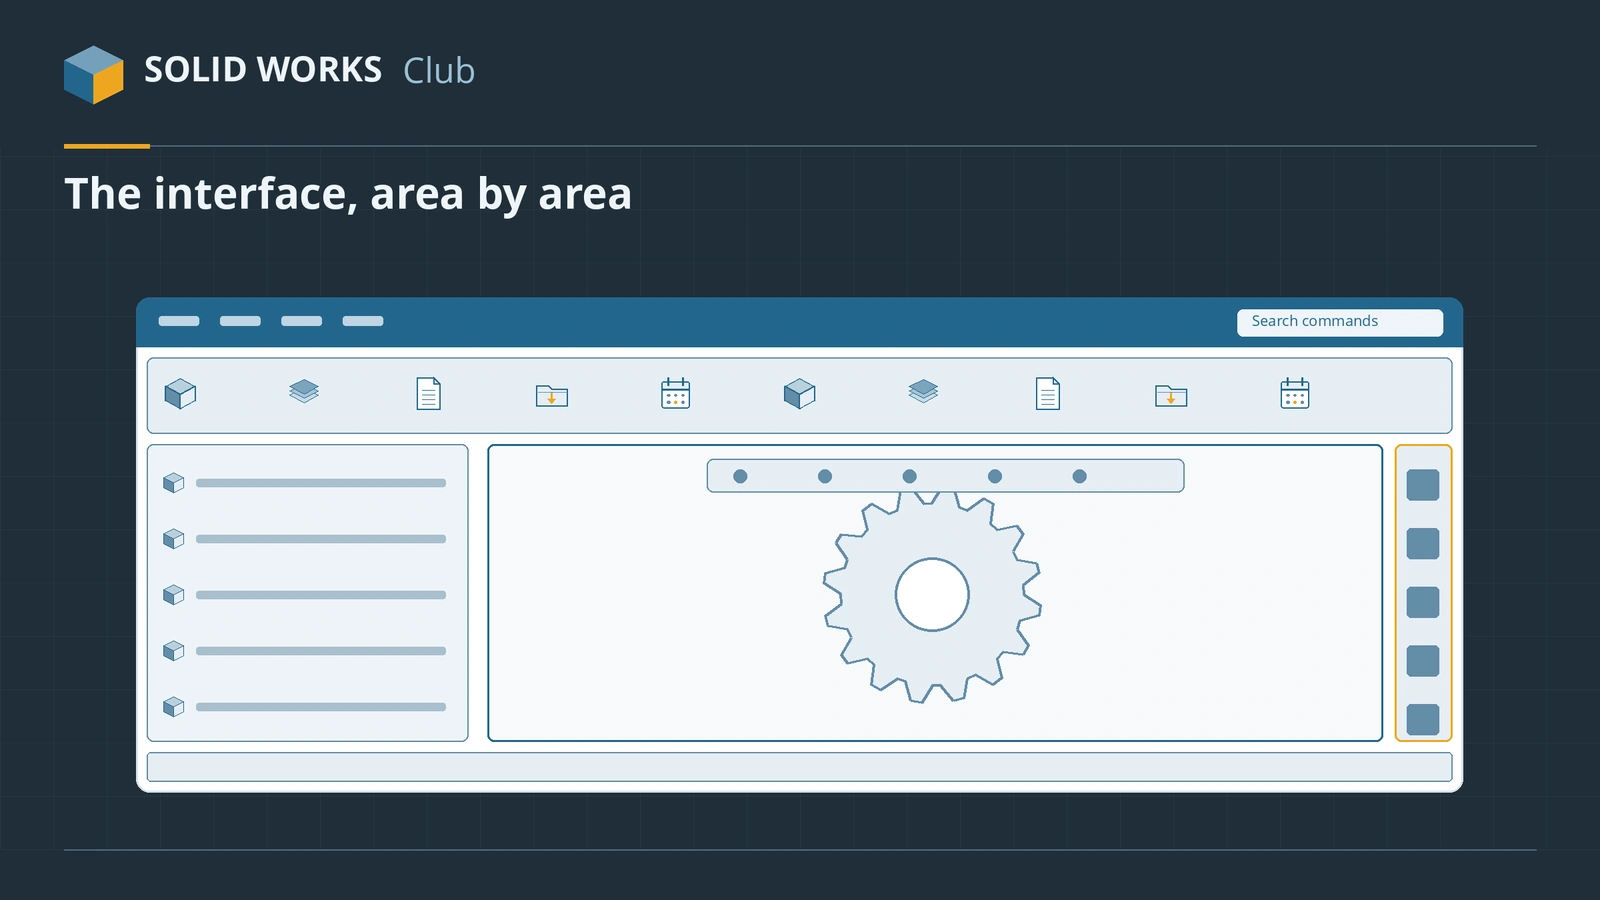
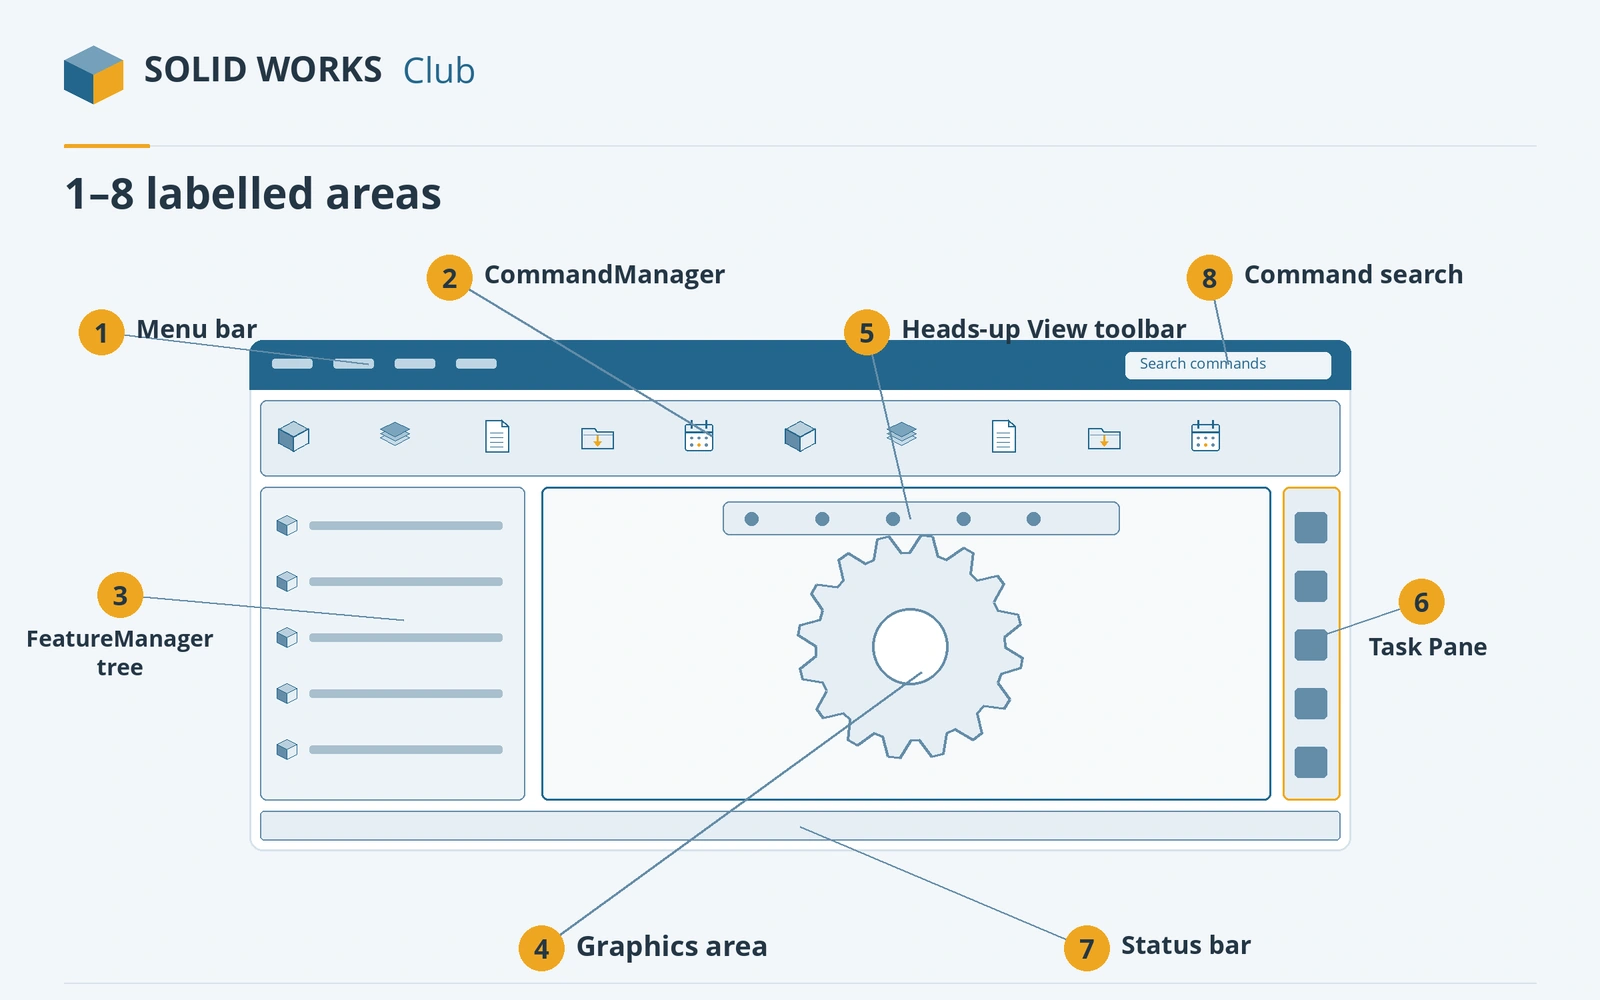
The areas of the window
| # | Area | What it does |
|---|---|---|
| 1 | Menu bar | Classic File, Edit, View, Insert, Tools, Help menus. Hidden behind the SOLIDWORKS logo until you hover — pin it with the pushpin next to Help. |
| 2 | CommandManager | The ribbon of tools. Its tabs (Features, Sketch, and so on) change the commands shown. |
| 3 | Left panel (managers) | FeatureManager tree, PropertyManager, ConfigurationManager, DimXpert and DisplayManager. |
| 4 | Graphics area | Your model. Selecting here opens context toolbars and breadcrumbs. |
| 5 | Heads-up View toolbar | Transparent toolbar at the top of the graphics area: zoom to fit, view orientation, display style, appearances. |
| 6 | Task Pane | Right side: SOLIDWORKS Resources, Design Library (including Toolbox), File Explorer, View Palette, appearances and custom properties. |
| 7 | Status bar | Bottom: units of the document (click to change), sketch status such as Fully Defined, pointer coordinates, rebuild prompt. |
| 8 | Command search | Top right: type a command name to run it or find where it lives. |
The CommandManager
The CommandManager is context-sensitive: click the Sketch tab and you see sketch tools, click Features and you see extrudes, fillets and patterns. Right-click any tab to add more — Sheet Metal, Weldments, Surfaces — or to switch on Use large buttons with text, which helps while you are learning the icons. To build your own tab, right-click a tab → Customize CommandManager and drag commands in.
The left panel: five managers
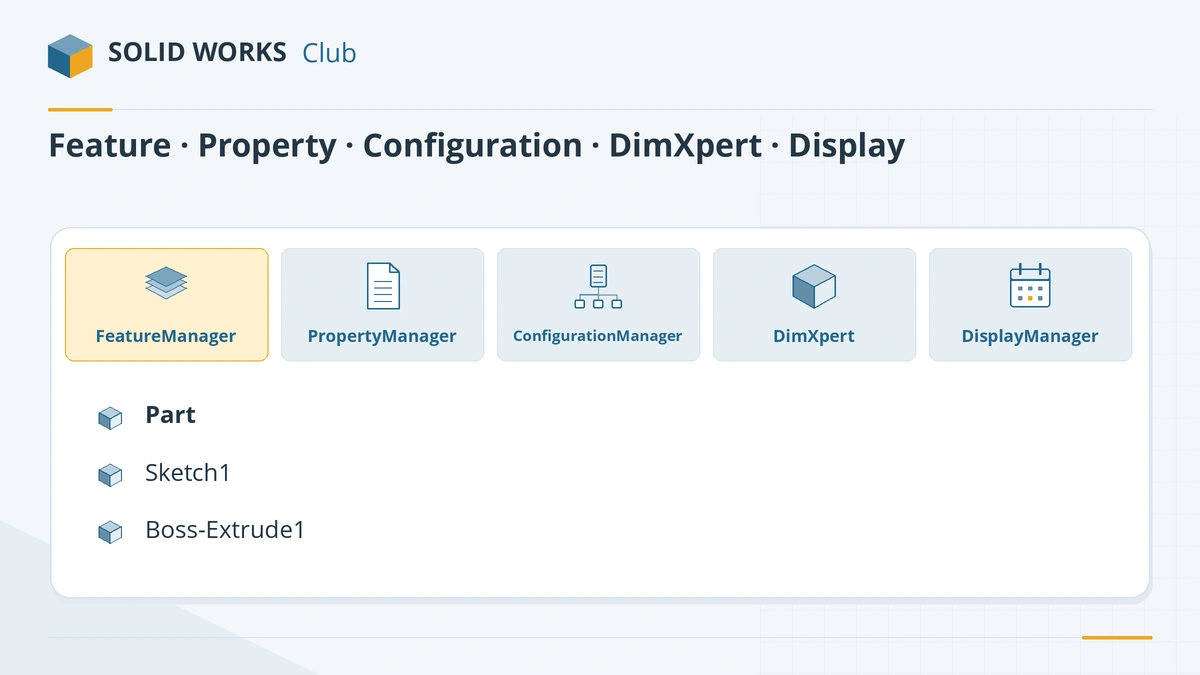
- FeatureManager design tree — the history of the part: origin, the Front, Top and Right planes, then every sketch and feature in order. Drag the rollback bar at the bottom to step back in time. The filter box at the top finds features by name.
- PropertyManager — replaces the tree while you create or edit a feature; it holds the feature's settings and the green OK tick.
- ConfigurationManager — variants of the same part or assembly (sizes, simplified versions).
- DimXpert — tools for adding manufacturing dimensions and tolerances to 3D models.
- DisplayManager — appearances, decals, scenes and lights.
From SOLIDWORKS 2026 you can right-click these tabs → Customize to hide the ones you never use.
Tools that appear where you work
- Context toolbar — select a face or edge and a small toolbar appears next to the cursor with the commands that make sense for it.
- Shortcut bar — press S for a searchable toolbar of your favourite commands for the current mode. See the S key shortcut bar.
- Mouse gestures — hold the right button and drag for a ring of commands. See mouse gestures.
- Breadcrumbs — after selecting, the top-left corner shows what your selection belongs to: the feature, the sketch, the part, its mates. Press D to move the breadcrumbs and the OK/Cancel corner next to the cursor.
Moving around the model
| Action | Mouse |
|---|---|
| Rotate | Hold the middle button (wheel) and drag |
| Pan | Ctrl + middle button |
| Zoom | Roll the wheel — it zooms towards the cursor |
| Zoom to fit | F key |
| Standard views | Spacebar opens the View Selector; Ctrl + 1 to 8 for front, back, top and others |
More keys: SOLIDWORKS keyboard shortcuts with a printable PDF.
The Welcome dialog
Since SOLIDWORKS 2018 a Welcome dialog opens at start-up. Its tabs are Home (new documents, recent files, links to the Customer Portal and forum), Recent, Learn (tutorials and training) and Alerts (technical alerts). Reopen it with the house icon next to New. The built-in tutorials it links to are the best next step after this page — our learning plan puts them in order.
Make it comfortable
- Interface brightness: Tools → Options → System Options → Colors → Light, Medium or Dark.
- Large buttons with text on the CommandManager while you learn.
- Save your layout with the Settings Wizard once it feels right — see options and settings.
Ready to use it? Build your first part.
Next: learn every sketch tool in the sketching course.
Lost a toolbar? Missing toolbars shows how to get the CommandManager, menus and Task Pane back.
Sources
- Hawk Ridge — User interface basics in SOLIDWORKS (updated Sep 2026)
- Javelin — Productivity tips for the UI and FeatureManager (Jan 2026)
- Javelin — Increase your efficiency with the SOLIDWORKS user interface (Jan 2025)
- GoEngineer — SOLIDWORKS 2026 UI/UX, performance and imports (Nov 2025)
- TriMech — Customizing the CommandManager
- CATI — Exploring the SOLIDWORKS CommandManager
- GoEngineer — The SOLIDWORKS Task Pane
- GoEngineer — Selection breadcrumbs explained (Feb 2023)
- GoEngineer — Introduction to DimXpert
- SOLIDWORKS Tech Blog — Welcome to SOLIDWORKS 2018
- Javelin — The SOLIDWORKS Welcome screen
- CATI — SOLIDWORKS interface brightness
Checked November 2026. SOLID WORKS Club is independent; menu names can differ slightly between releases.
Frequently asked questions
What is the FeatureManager design tree?
+
The list on the left side of the window that shows every sketch and feature in the order you created it, under the origin and the three default planes. You edit, reorder, suppress and roll back features from it.
Where are the menus in SOLIDWORKS?
+
Hover over the SOLIDWORKS logo at the top left to show the menu bar. Click the pushpin to the right of the Help menu to keep it visible.
How do I get a missing toolbar or tab back?
+
Right-click any CommandManager tab to switch tabs on and off, or use Tools → Customize. To reset everything, use the Settings Wizard's Reset Settings option.
Can I use SOLIDWORKS in dark mode?
+
You can set Interface Brightness to Light, Medium or Dark at the top of Tools → Options → System Options → Colors. It changes the menus and panels; the model background is set separately.
Related
- Your first SOLIDWORKS part, step by stepModel your first SOLIDWORKS part in 15 minutes: a sketch on the Front Plane, Smart Dimension, Extruded Boss, a hole and fillets, with a check mass.
- SOLIDWORKS keyboard shortcutsEvery default SOLIDWORKS keyboard shortcut in a searchable list and a one-page PDF — rebuild, views, zoom, filters, sketch and assembly keys — and customising.
- SOLIDWORKS mouse gesturesHow SOLIDWORKS mouse gestures work, how to choose 2 to 12 directions, assign your own commands for parts, assemblies, drawings and sketches, and turn them off.
- The SOLIDWORKS S key shortcut barPress S in SOLIDWORKS to open the shortcut bar at the pointer. How it changes by environment, how to search from it and how to customise it.