Reference
How to export SOLIDWORKS to STEP
To create a STEP file, open the part or assembly and choose File → Save As, pick STEP AP214 (or AP203) as the file type and save. AP214 keeps colours and layers, AP203 only geometry, and AP242 with 3D annotations comes from the MBD add-in. A STEP file opens in almost every CAD system, but it holds solid geometry, not the SOLIDWORKS feature history.
 Kevin Walsh

Where to find it
File → Save As → Save as type → STEP AP203 / AP214 (*.step, *.stp)
AP203 vs AP214 vs AP242
| Protocol | Contains | Use when |
|---|---|---|
| AP203 | Geometry and topology | The recipient's software only supports AP203 |
| AP214 | AP203 + colours, layers, part role in assembly | Default choice for most exchanges |
| AP242 | Geometry + product manufacturing information (PMI) | Model-based definition workflows |
AP comparison from GoEngineer. STEP 242 with PMI is published from the MBD toolbar, and SOLIDWORKS 2024 added custom properties to STEP 242 export (SOLIDWORKS Help). MBD is a paid add-in (Hawk Ridge).
Assemblies
- One STEP file can contain the whole assembly structure.
- Since SOLIDWORKS 2023 you can export components individually to separate STEP files (CATI).
- Use the active configuration and display state you want the recipient to see.
Opening STEP in SOLIDWORKS
File → Open a .step or .stp file. You get imported bodies without features; FeatureWorks or direct-editing tools (Move Face, Delete Face) help edit them. With 3D Interconnect enabled, SOLIDWORKS keeps a link to the STEP file so you can update it — see file formats.
For 3D printing use STL or 3MF; for laser cutting use DXF. To share with someone on an older SOLIDWORKS, STEP is often simpler than a save-back — check with the version compatibility tool.
Need a different origin in the exported file? Use a coordinate system.
Receiving STEP files? If they open as surfaces or with faulty faces, see import errors.
Step by step
-
1
Open the model
Open the part or assembly. For assemblies, resolve all components and check that the configuration you want is active — the export uses the active configuration.
-
2
Choose File → Save As
In Save as type, select STEP AP203/AP214 (.step; .stp).
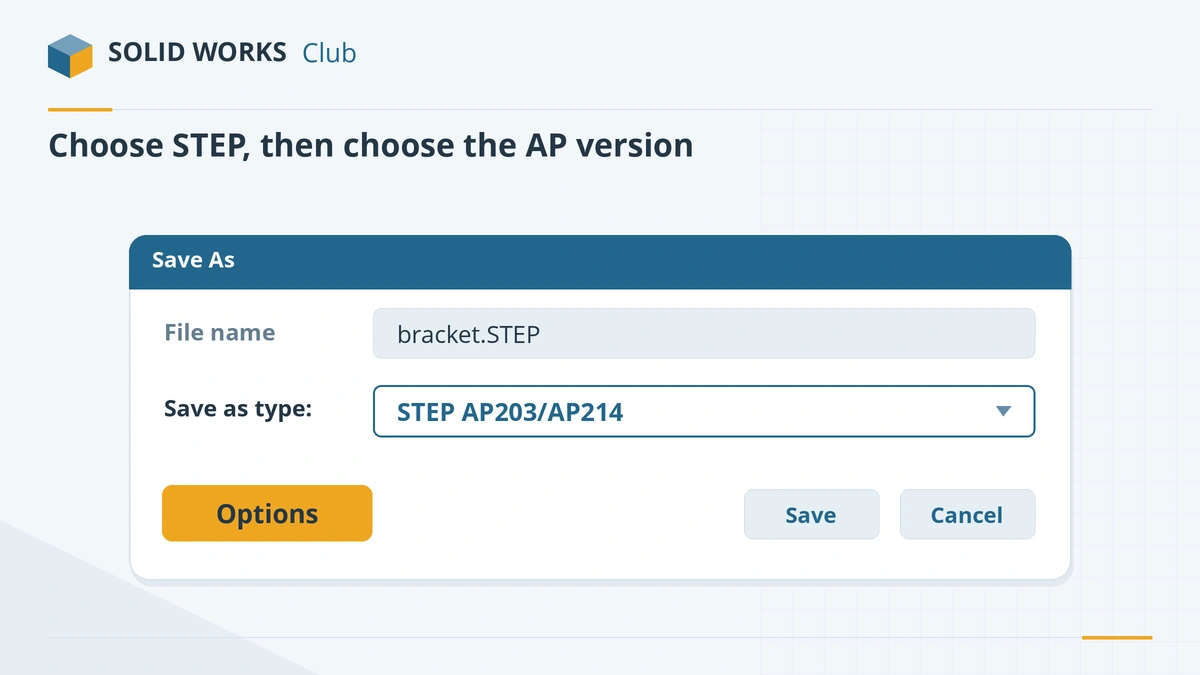
Choose the STEP file type, then Options for the AP version. -
3
Pick the application protocol
Click Options and choose the AP version. Use AP214 by default: it carries colours, layers and part names. Choose AP203 only if the recipient's system asks for it.
-
4
Save and check
Save the file, then reopen it (in SOLIDWORKS or the free eDrawings Viewer) to check that every body and component came through.
Common mistakes
- Exporting with the wrong configuration active.
- Sending AP203 when the recipient needs colours — use AP214.
- Expecting the recipient to edit features — STEP has geometry only.
- Exporting lightweight or suppressed components and wondering why parts are missing.
Frequently asked questions
What is the difference between STEP AP203, AP214 and AP242?
+
AP203 contains geometry and topology only. AP214 adds colours, layers and the part's role in the assembly. AP242 adds product manufacturing information (3D dimensions and tolerances); in SOLIDWORKS it is published with the MBD add-in.
Can I export each part of an assembly as a separate STEP file?
+
Yes. Since SOLIDWORKS 2023 you can export assembly components to STEP individually, instead of one combined file.
Is STEP or Parasolid better for sharing SOLIDWORKS models?
+
Both carry clean solid geometry. Parasolid (.x_t) is ideal for Parasolid-based systems such as Onshape, Solid Edge and NX. The SOLIDWORKS blog recommends STEP when sharing with older SOLIDWORKS versions.
Related
- How to export STL from SOLIDWORKS for 3D printingHow to save a SOLIDWORKS part or assembly as STL for 3D printing — resolution, deviation and angle, units, one file for assemblies — and 3MF instead.
- How to export IGES from SOLIDWORKSHow to save a SOLIDWORKS model as IGES, why STEP or Parasolid are usually better, when IGES still makes sense, and how to fix gaps when importing IGES surfaces.
- SOLIDWORKS file formats and extensionsEvery SOLIDWORKS file extension explained — SLDPRT, SLDASM, SLDDRW, templates, libraries and tables — plus the import and export formats and 3D Interconnect.
- SOLIDWORKS version compatibility: will my file open?Check whether a SOLIDWORKS file opens in another version. Save as previous version (2024+), Future Version mode and STEP explained, with a free checker.