Advanced parts · Lesson 12
SOLIDWORKS Move/Copy Bodies
Move/Copy Bodies moves, rotates or duplicates solid and surface bodies inside a part. You can type distances and angles, drag a triad, or position bodies with mate-like constraints. It is also how you place a part you brought in with Insert Part, and how you fix imported models that arrive in the wrong place or orientation.
 Kevin Walsh
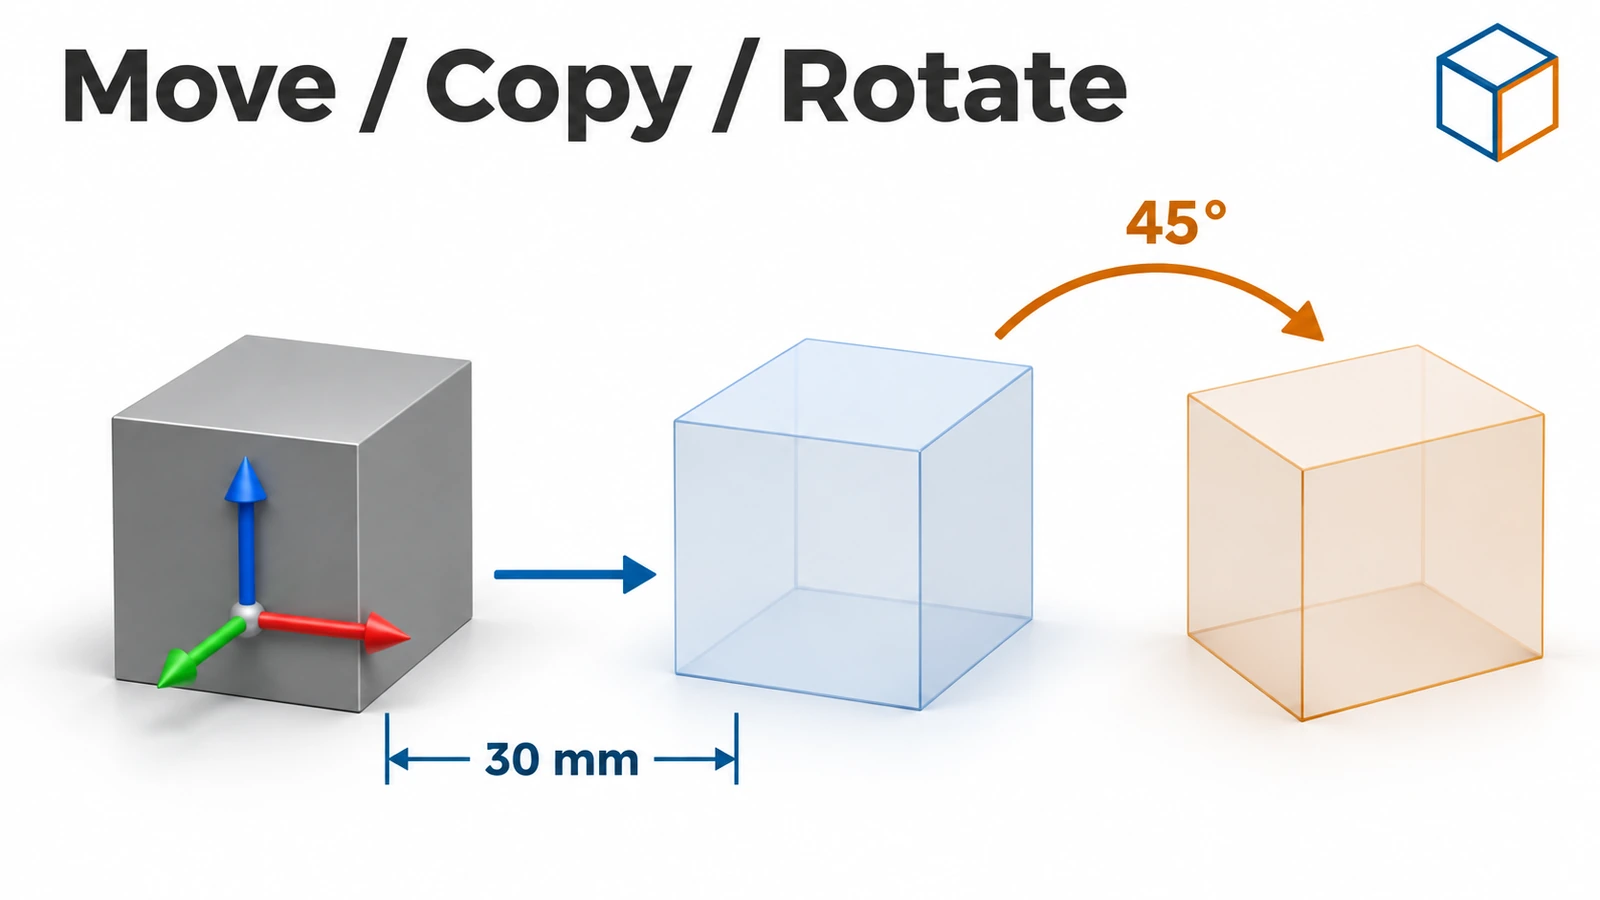
Where to find it
Insert → Features → Move/Copy (not on the Features tab by default)
Move/Copy modes
| Mode | Use |
|---|---|
| Translate | Move by X, Y, Z distances or between two points |
| Rotate | Rotate about an axis, edge or the origin |
| Constraints | Position with coincident, parallel, distance and other mate types |
| Copy | Keep the original and place a copy |
Move/Copy features can also be suppressed per configuration. To bring a whole other part in as a body, use Insert → Part; the inserted feature shows a -> to mark the external reference and updates when the source part changes. Typical uses are opposite-hand parts, mould cavities and matching features.
Step by step
-
1
Make a cube
Extrude a 20 × 20 mm Center Rectangle on the Top Plane 20 mm.
-
2
Copy it
Insert → Features → Move/Copy. Select the body, tick Copy, and in Translate type 30 mm in X. Click the tick — a second cube appears beside the first.
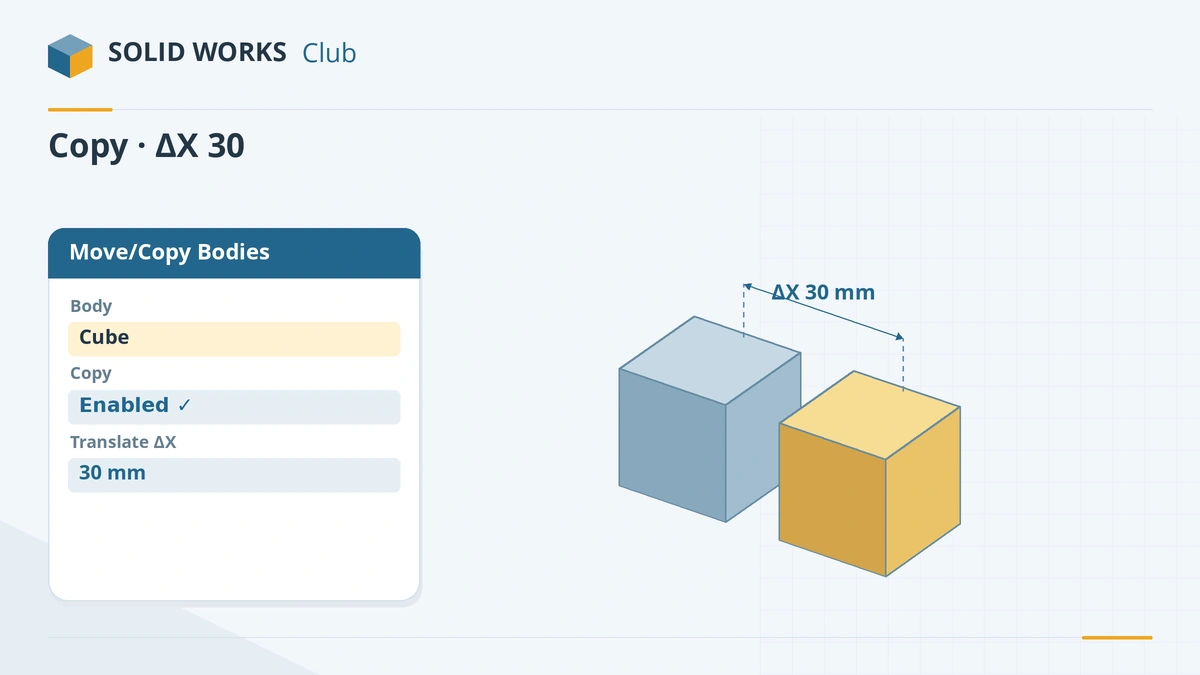
Tick Copy and translate 30 mm to duplicate the body. -
3
Rotate instead
Add another Move/Copy feature for rotation — translation and rotation cannot be done in the same feature, so chain two features when you need both.
-
4
Position with constraints
Click Constraints at the bottom of the PropertyManager to position a body with mate types such as coincident and parallel. Click Add after each constraint; three usually fully position a prismatic body.
Common mistakes
- Trying to translate and rotate in one feature. Use two Move/Copy features.
- Forgetting to click Add after each constraint, so it is not applied.
- Selecting reference geometry for constraints when the error asks for an entity on the moving body — pick a face, edge or vertex of that body.
Lesson 12 of 16 in the advanced parts course.
Practice
Copy a 20 mm cube 30 mm along X with Move/Copy Bodies. Check: Solid Bodies shows 2 and the total volume is 16,000 mm³.
Sources
- GoEngineer — Using the Move/Copy Body feature (Nov 2020)
- CATI — Insert Part
- Javelin — How to insert a part into a part (Feb 2022)
- SOLIDWORKS Tech Blog — Creating and using derived parts (2018)
- Javelin — How to use multiple bodies in SOLIDWORKS (Jul 2026)
Checked November 2026. SOLID WORKS Club is independent; menu names can differ slightly between releases.
Frequently asked questions
How do I move a body in SOLIDWORKS?
+
Use Insert → Features → Move/Copy, select the body and type a translation or rotation, drag the triad, or switch to Constraints to position it with mates.
How do I copy a body?
+
Tick Copy in Move/Copy Bodies before moving. The original stays and a copy is placed at the new position.
How do I insert one part into another?
+
Insert → Part, pick the file and choose what to transfer (usually solid bodies). The inserted body keeps a link to the original; position it with Move/Copy Bodies.
Can I fix an imported part that is in the wrong place?
+
Yes — use Move/Copy Bodies to translate or rotate the imported body to the right position relative to the origin.
Related
- SOLIDWORKS multibody partsWhat multibody parts are in SOLIDWORKS, how Merge result and Feature Scope work, Save Bodies to make an assembly, and when an assembly is better.
- Split, Combine and Intersect in SOLIDWORKSHow to use Split, Combine (Add, Subtract, Common), Intersect and Delete/Keep Body in SOLIDWORKS to cut bodies apart, join them, and use one body as a tool.
- SOLIDWORKS coordinate systemsHow to create a coordinate system in SOLIDWORKS and use it for mass properties, centre of mass, STEP or Parasolid export and table driven patterns.
- How to export SOLIDWORKS to STEPHow to save a SOLIDWORKS part or assembly as STEP, which AP version to choose (AP203, AP214, AP242), exporting components separately, and pitfalls.