Advanced parts · Lesson 13
SOLIDWORKS materials
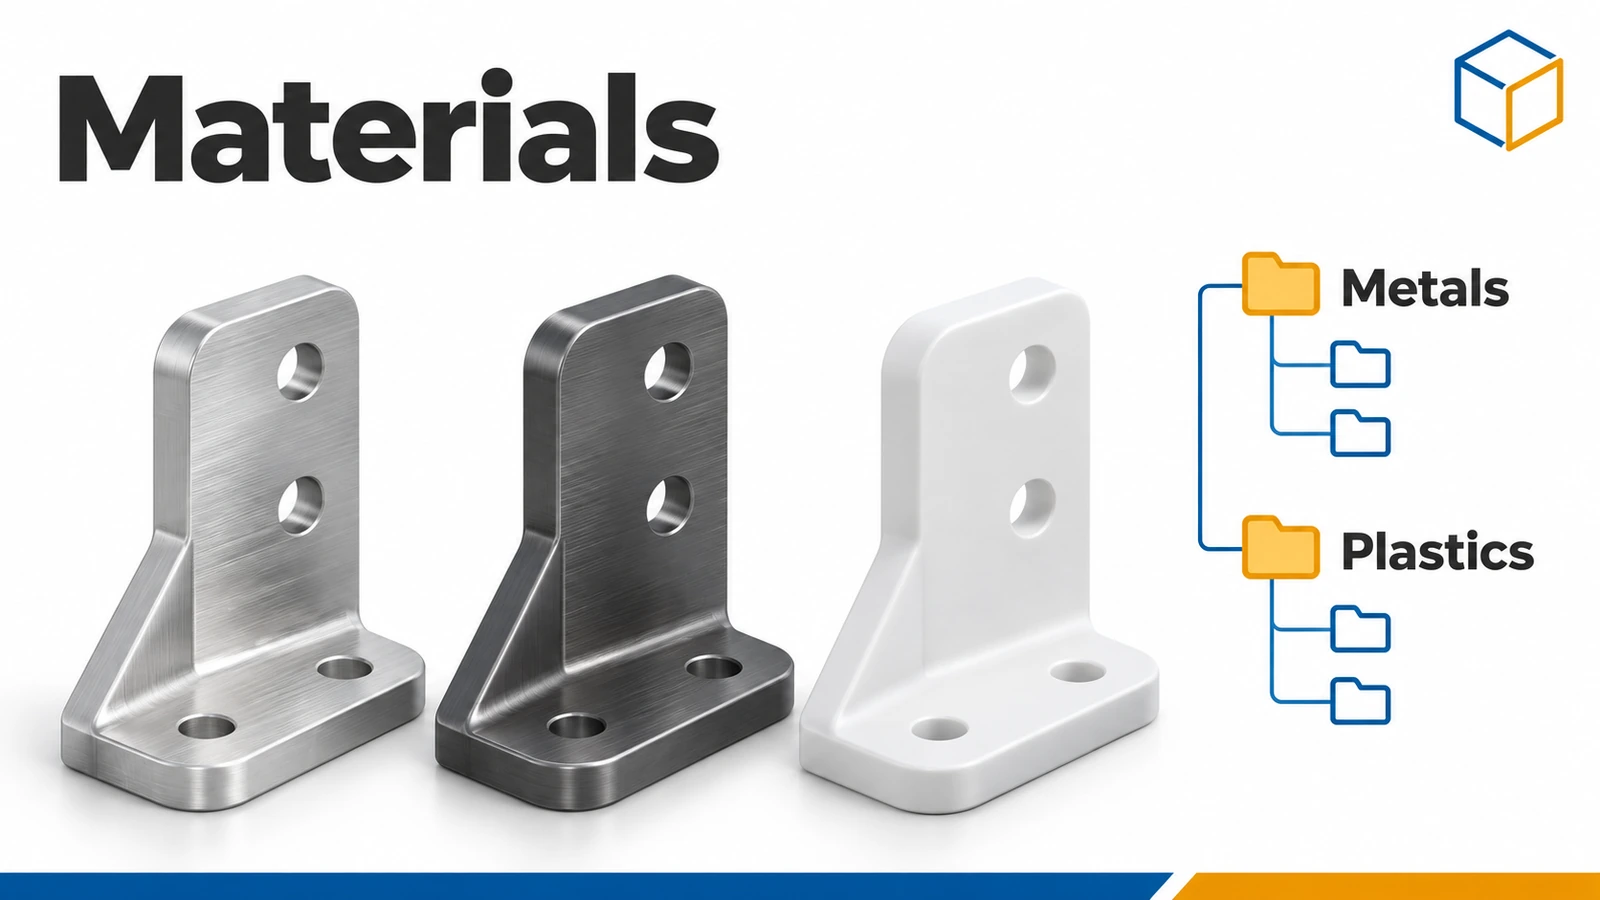
A material gives a part its density — and so its mass — plus the mechanical properties that Simulation uses and an appearance. Without a material, mass properties are meaningless. The built-in SOLIDWORKS library is read-only, so for your own materials you create a custom library, copy a similar material into it and change the values.
 Kevin Walsh
Where to find it
FeatureManager → right-click Material → Edit Material
Where materials live
| Item | Detail |
|---|---|
| Built-in library | SOLIDWORKS Materials — read-only |
| Custom libraries | Your own .sldmat files |
| Library location | Registered under System Options → File Locations → Material Databases |
| Per-body material | Right-click a body (2018+) |
| In templates | A Material custom property linked to the part material |
Densities we use in exercises, with sources, are on the material library reference. Next: read the results in Mass Properties.
Step by step
-
1
Make the plate
Extrude a 100 × 50 mm rectangle 10 mm.
-
2
Apply a material
Right-click Material in the tree → Edit Material. Open the SOLIDWORKS library, find a 6061 aluminium alloy, check its density (2,700 kg/m³), and click Apply.
-
3
Create a custom material
In the same dialog right-click Custom Materials → New Category ("My materials"). Copy a similar material (Ctrl + C), paste it into your category (Ctrl + V), rename it "S235 test", set the density to 7,850 kg/m³ and click Save, then Apply it to the plate.
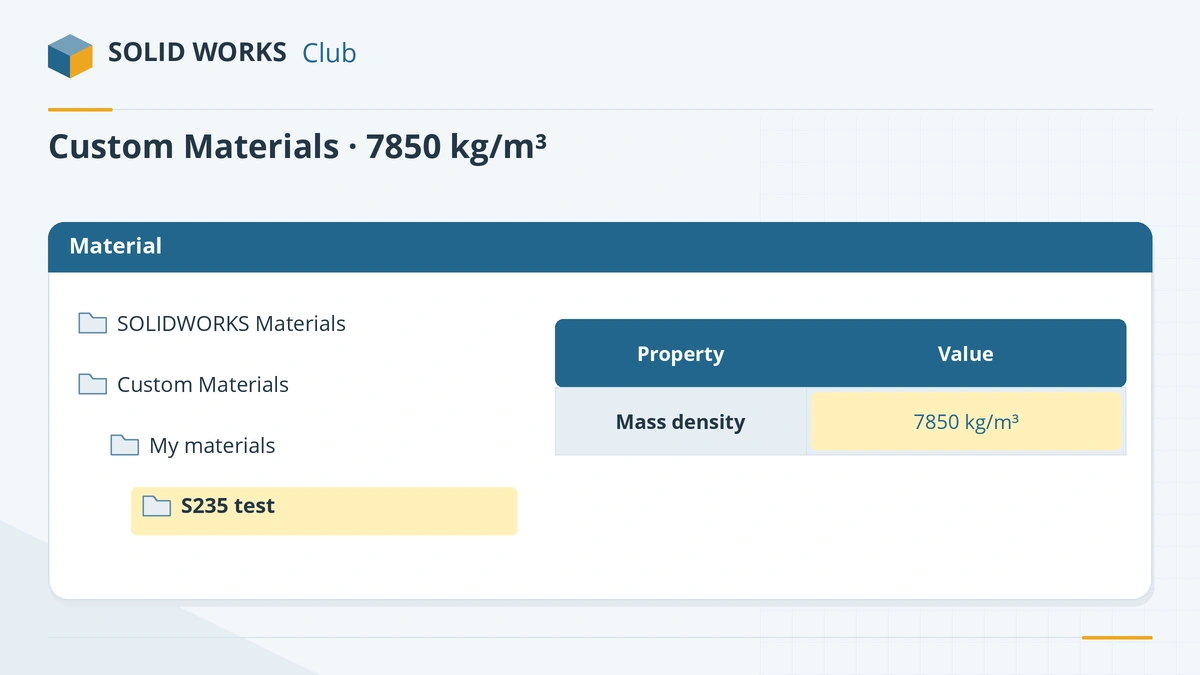
Copy a library material into your own category and change its properties. -
4
Keep your own colour
Applying a material also applies its appearance. To keep your colours, untick the option to apply the material's appearance on the Appearance tab of the Material dialog.
Common mistakes
- No material at all — the mass shown is based on a default density and means nothing.
- Trying to edit a built-in material. Library materials are read-only; copy them into a custom library first.
- A custom library saved somewhere only you can see. Register the folder under System Options → File Locations → Material Databases, on a shared drive if the team needs it.
Lesson 13 of 16 in the advanced parts course.
Practice
Apply 6061 aluminium to a 100 × 50 × 10 mm plate. Check: mass 135.00 g. Apply your custom material with 7,850 kg/m³: mass 392.50 g.
Sources
- Solid Solutions — How to create custom materials (Jun 2023)
- GoEngineer — Create custom materials
- Hawk Ridge — Custom material library
- GoEngineer — Materials in multibody parts (Sep 2025)
- Hawk Ridge — Set material on individual bodies (2018)
- Solid Solutions — How to create part templates
- Hawk Ridge — Applying materials in SOLIDWORKS
Checked November 2026. SOLID WORKS Club is independent; menu names can differ slightly between releases.
Frequently asked questions
How do I add a custom material in SOLIDWORKS?
+
In Edit Material, create a category under Custom Materials, copy a similar material into it, change the name and properties, and save. Each library is stored as a .sldmat file.
Can I give different bodies different materials?
+
Yes. Right-click a body in the Solid Bodies or Cut List folder and choose Material. A body material overrides the part material. This became available from the right-click menu in SOLIDWORKS 2018.
Why did my part's colour change when I applied a material?
+
Materials bring their appearance with them. Untick the option to apply the material's appearance to keep your own colours.
How do I show the material in a drawing title block?
+
Add a Material custom property linked to the part's material (choose it in the property's value drop-down), ideally in your part template. The title block can then read it.
Related
- SOLIDWORKS Mass PropertiesHow to use Mass Properties in SOLIDWORKS: mass, volume, centre of mass and inertia, units, coordinate systems, overrides, Measure and Section Properties.
- SOLIDWORKS appearancesHow to apply appearances in SOLIDWORKS to faces, features, bodies and parts, understand the colour hierarchy, remove appearances, use RealView and add decals.
- SOLIDWORKS material library: apply and create materialsHow the SOLIDWORKS material library works, how to apply a material, why it changes mass, and how to create a custom material in your own .sldmat library.
- How to create SOLIDWORKS templatesCreate SOLIDWORKS part, assembly and drawing templates (.prtdot, .asmdot, .drwdot), save them to your own folder and set them as the defaults.