Advanced parts · Lesson 15
SOLIDWORKS appearances
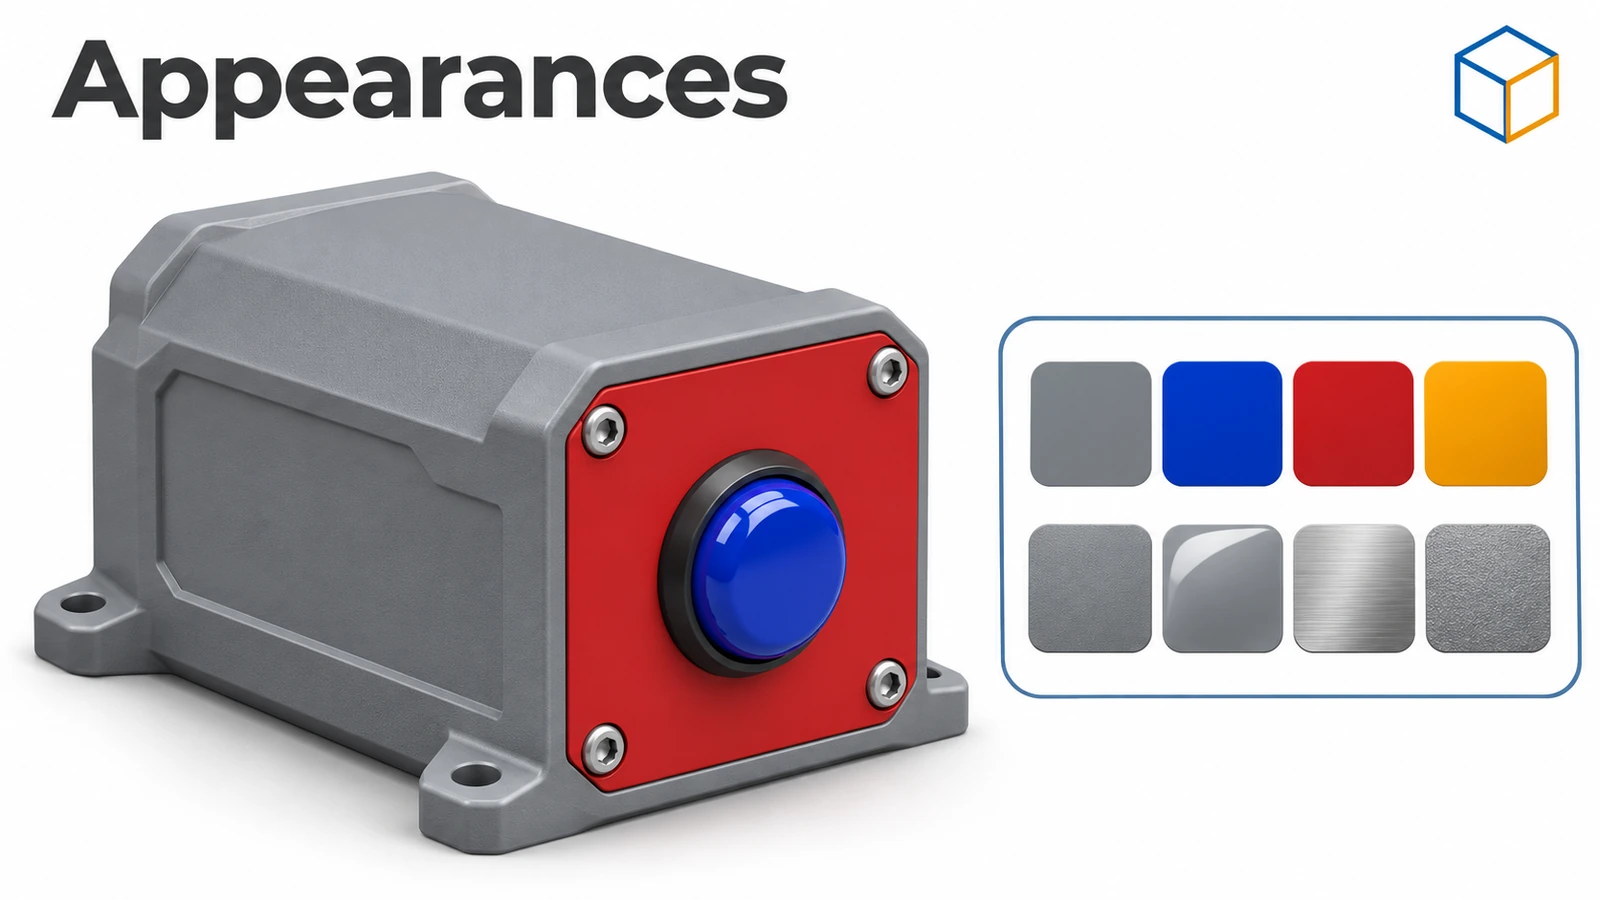
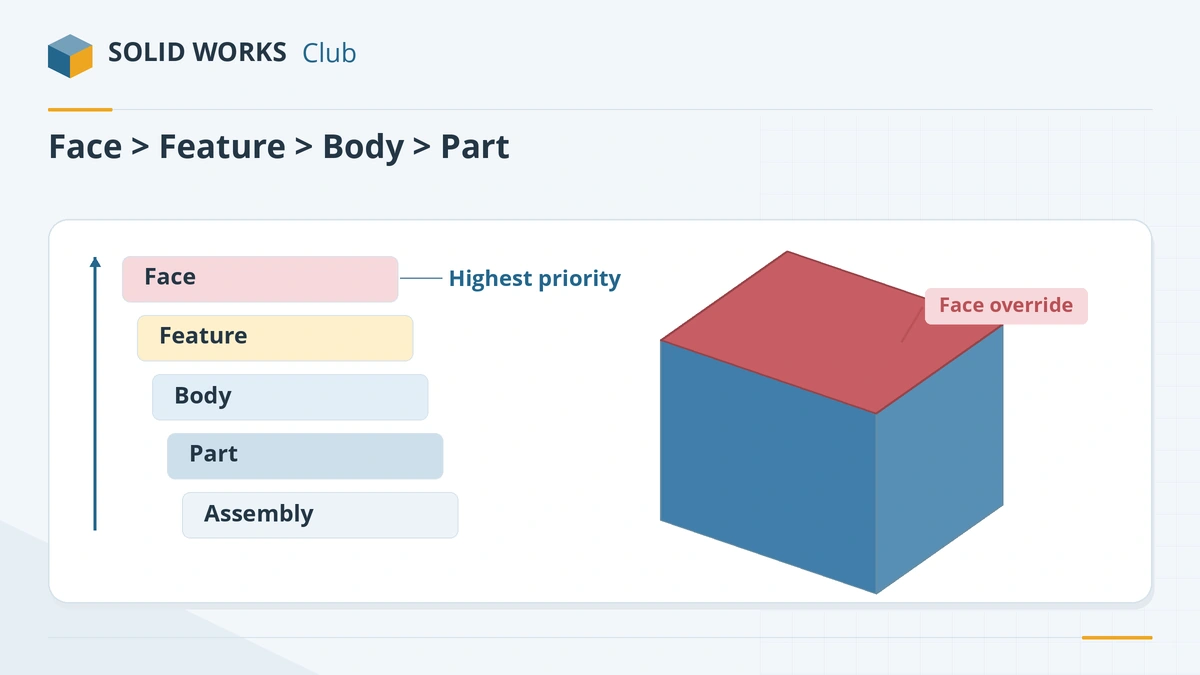
Appearances set how a model looks — colour, finish, texture — without changing its material or mass. You drag them from the Task Pane onto a face, feature, body, part or assembly. Because they can be applied at several levels, SOLIDWORKS uses a hierarchy: the most specific level wins, and removing it reveals the one below. Decals put images such as labels and logos on faces.
 Kevin Walsh
Where to find it
Task Pane → Appearances, Scenes and Decals; DisplayManager
Appearance levels
| Level | Priority |
|---|---|
| Assembly (component appearance set in the assembly) | Overrides everything in the component |
| Face | Highest within a part |
| Feature | Below face |
| Body | Below feature |
| Part | Lowest — the default colour of the part |
Related display tools
- RealView — realistic reflections, toggled from the heads-up toolbar's View Settings; needs a supported graphics card. If it is greyed out, see unsupported graphics card.
- Decals — images on faces with label, projection, spherical or cylindrical mapping; shown only in shaded display modes.
- Material appearance — applied automatically with a material unless you turn it off; see materials.
Step by step
-
1
Open the appearances library
Open the Appearances, Scenes and Decals tab of the Task Pane. Browse to a colour or finish, for example a plastic or a painted metal.
-
2
Drag onto the part
Drag it onto a face. A small selection bar appears: choose Face, Feature, Body or Part. Choose Part to colour the whole part.
-
3
Colour one face differently
Drag a second colour onto one face and choose Face. The face keeps its own colour; the rest stays the part colour.
The most specific level wins; removing it reveals the next. -
4
Inspect and remove
Open the DisplayManager tab and sort by hierarchy to see every appearance. Right-click the face appearance → Remove Appearance — the part colour shows through again.
Common mistakes
- {'Expecting a part colour to override a face colour. The more specific level wins': 'face, then feature, then body, then part.'}
- Wondering why components in an assembly keep a colour — assembly-level appearances override everything below.
- Shiny finishes looking flat — reflections need RealView, which needs a supported graphics card.
Lesson 15 of 16 in the advanced parts course.
Practice
Give a part a blue part-level appearance and one face a red face-level appearance, then remove the face appearance. Check: the face turns blue again, and Mass Properties is unchanged — appearances never affect mass.
Sources
- GoEngineer — The SOLIDWORKS Task Pane
- GoEngineer — Understanding hierarchy of appearances (Feb 2021)
- GoEngineer — Understanding colours in SOLIDWORKS
- Javelin — How to use appearance hierarchy (Nov 2022)
- Hawk Ridge — Applying materials in SOLIDWORKS
- Hawk Ridge — OpenGL, RealView and PhotoView 360
- SOLIDWORKS Tech Blog — How to activate RealView (2019)
- GoEngineer — SOLIDWORKS decals from scratch (Apr 2021)
Checked November 2026. SOLID WORKS Club is independent; menu names can differ slightly between releases.
Frequently asked questions
Why can't I change the colour of my part?
+
A more specific appearance — on a face, feature or body — or an assembly-level appearance is overriding it. Check the DisplayManager and remove the overriding appearance.
What is the appearance hierarchy?
+
Face appearances override feature, then body, then part appearances, and assembly-level appearances override all component levels. Removing one level shows the next one down.
Do appearances change the material?
+
No. Appearances are visual only. A material brings its own appearance, but changing the appearance does not change the material or mass.
How do I add a logo to a part?
+
Use a decal: DisplayManager → Decals → Add Decal, choose the image, then map it as a label or by projection, sphere or cylinder.
Related
- SOLIDWORKS materialsHow to apply materials in SOLIDWORKS, create a custom material library, set materials per body, keep your colours, and link the material to a custom property.
- SOLIDWORKS Design LibraryHow to use the SOLIDWORKS Design Library: default folders, adding your own folders, saving reusable library features (.sldlfp) and inserting them.
- Unsupported graphics card, RealView greyed out and display problemsSOLIDWORKS says your graphics card is unsupported, RealView is greyed out, or the screen goes black? Check certification, install the right driver, fix laptops.
- The SOLIDWORKS interface explainedA beginner's map of the SOLIDWORKS interface — CommandManager, FeatureManager tree, PropertyManager, Task Pane, heads-up toolbar, status bar and the S key.