Sketching · Lesson 13
SOLIDWORKS Offset Entities
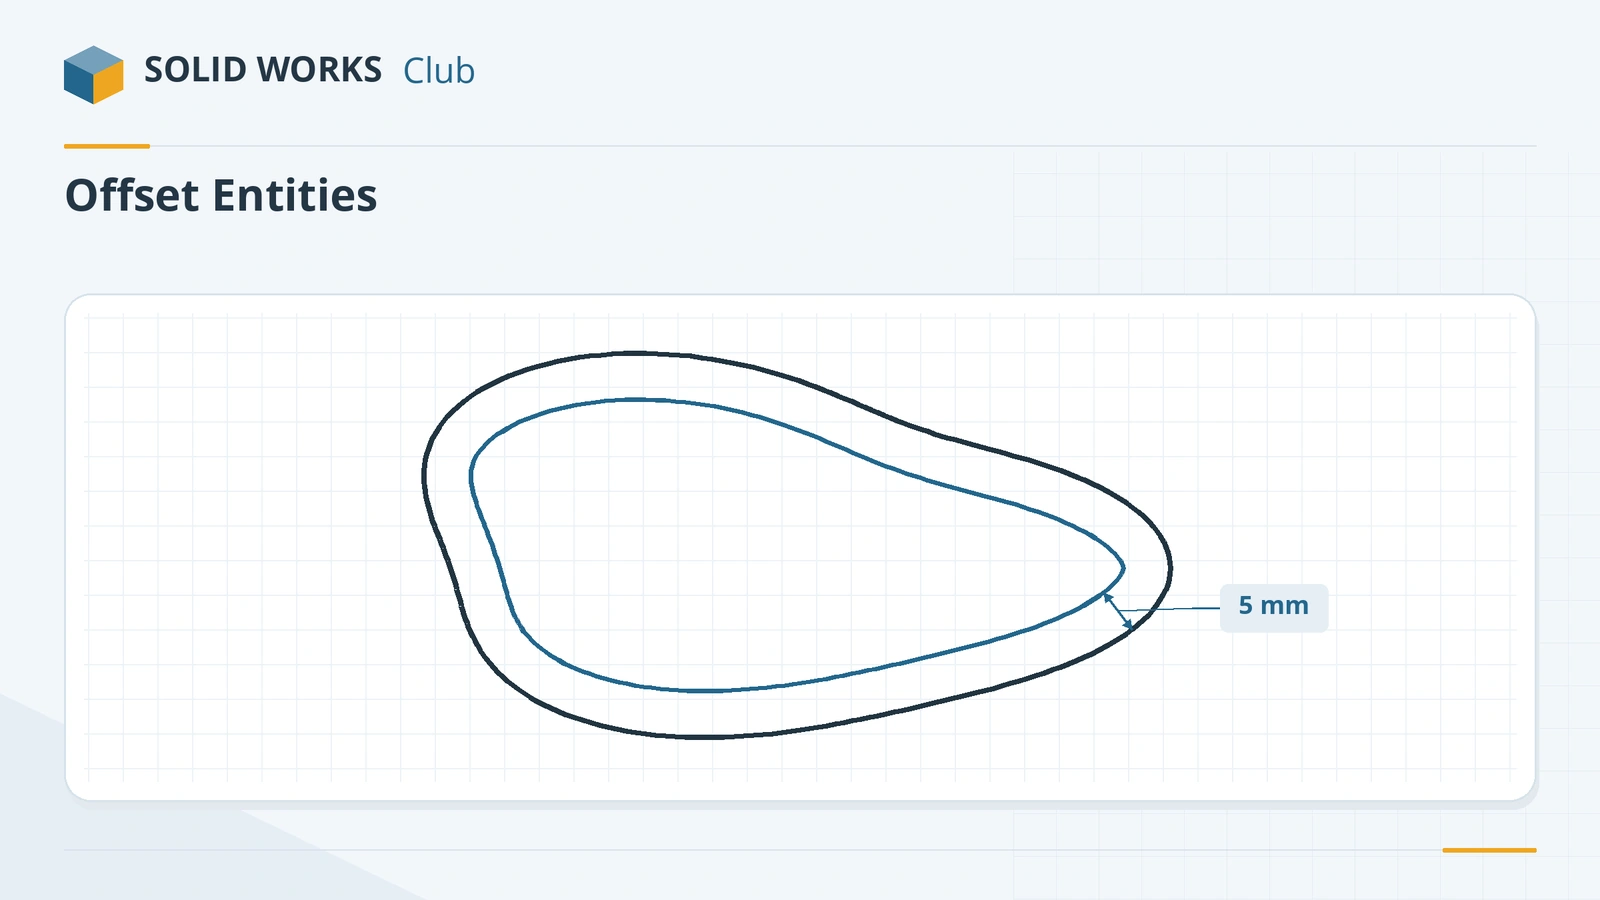
Offset Entities copies sketch entities, model edges or the edges of a face at a set distance, like a parallel copy that follows curves. The copy stays linked: if the original changes, the offset follows. Use it for walls of constant thickness, lips and grooves, frames around a shape and clearance outlines.
 Kevin Walsh
Where to find it
Sketch tab → Offset Entities (also Tools → Sketch Tools → Offset Entities)
Offset options
| Option | What it does |
|---|---|
| Distance | Offset distance; drag or type it |
| Add dimensions | Adds the offset distance as a dimension |
| Reverse | Switches the side |
| Select chain | Offsets all connected entities |
| Bi-directional | Offsets to both sides |
| Cap ends (arcs or lines) | Closes open-chain offsets; since 2016 also for one-direction offsets |
| Construction geometry: base / offset | Turns the originals or the copies into construction |
To offset the edges of a model face, select the face (or its edges) in the sketch — it is the same tool. To copy edges without a distance, use Convert Entities.
Step by step
-
1
Draw the outer shape
On the Front Plane draw a Center Rectangle 70 × 50 on the origin and dimension it.
-
2
Offset it inward
Select one of the rectangle's lines and click Offset Entities. Set the distance to 5 mm and tick Select chain so the whole rectangle is used. If the preview is outside, tick Reverse.
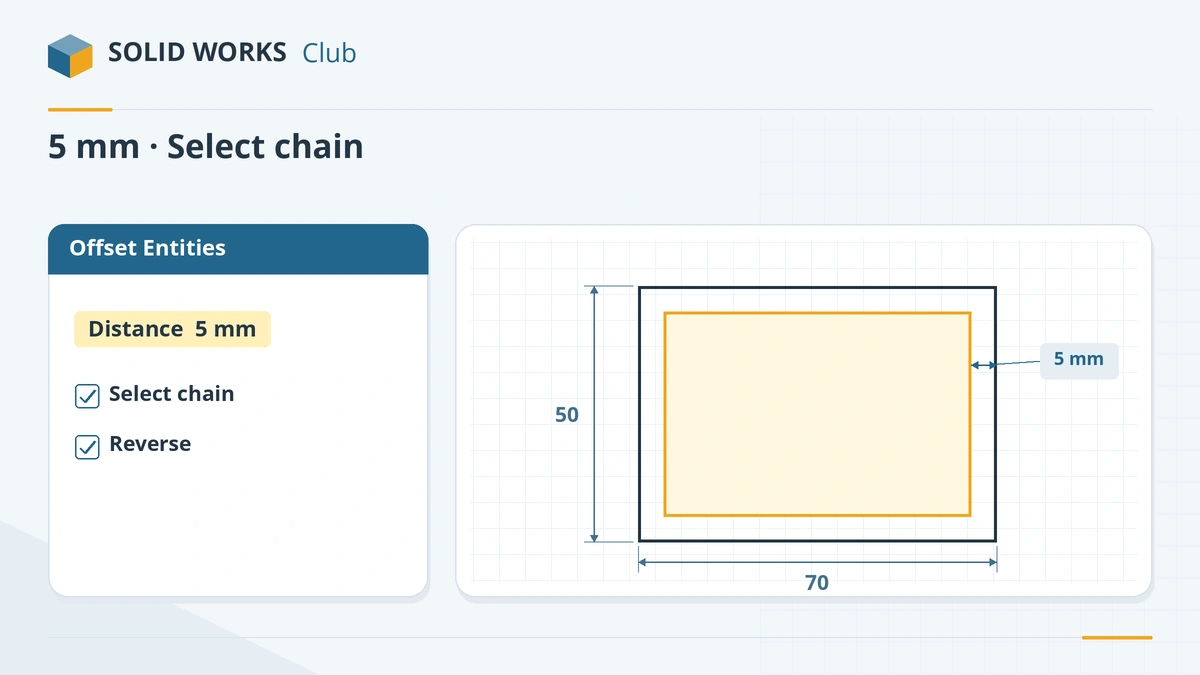
Offset the whole chain inward by 5 mm. -
3
Confirm and extrude
Click the tick. The new 60 × 40 rectangle is linked to the outer one. Exit the sketch and extrude it 10 mm — the area between the two rectangles becomes a frame.
Common mistakes
- Offsetting only one line when you meant the whole outline — tick Select chain, or select a face to offset all its edges.
- Offsetting a shape inward by more than its smallest radius allows; the offset fails or self-intersects.
- Using two separate rectangles with four dimensions for a constant-width wall. One offset keeps the wall even when the outer size changes.
Lesson 13 of 17 in the sketching course.
Practice
Build the frame above: a 70 × 50 rectangle offset 5 mm inward, extruded 10 mm. Check: volume 11,000 mm³. Change the outer width to 80 — the inner rectangle should follow and the volume becomes 12,000 mm³.
Sources
- SOLIDWORKS Help 2024 — Using Offset Entities
- SOLIDWORKS Help 2024 — Capping single-direction offsets
- Javelin — SOLIDWORKS 2016 Offset Entities
- Javelin — Offset on Surface in a 3D sketch (May 2022)
Checked November 2026. SOLID WORKS Club is independent; menu names can differ slightly between releases.
Frequently asked questions
How do I offset a whole sketch outline?
+
Select one entity and tick Select chain in the Offset Entities PropertyManager, or select a face to offset all its edges at once.
Does the offset update when I change the original?
+
Yes. The offset stays linked to the original entities and moves when they change.
How do I offset in both directions?
+
Tick Bi-directional. For open chains you can cap the ends with arcs or lines, which turns an open line into a closed slot-like outline.
Can I offset onto a curved surface?
+
Yes, with Offset on Surface in a 3D sketch. It offsets the edges of a surface along the surface, with geodesic or straight-line distance.
Related
- SOLIDWORKS Convert EntitiesHow to use Convert Entities in SOLIDWORKS to project model edges and faces into a sketch, plus On Edge, inner loops, Intersection Curve and Silhouette.
- Trim and extend sketch entitiesHow to use Trim Entities in SOLIDWORKS: Power trim, Corner, trim away inside and outside, trim to closest, keep as construction, and extend lines.
- Mirror sketch entities in SOLIDWORKSHow to mirror sketch geometry in SOLIDWORKS with Mirror Entities and Dynamic Mirror, choose a centerline, line, edge or plane, and keep the halves symmetric.
- SOLIDWORKS rectangle toolsHow to sketch rectangles in SOLIDWORKS: Corner, Center, 3 Point Corner, 3 Point Center and Parallelogram, with construction lines and centring.